

Beginner Fingerpicking Guide by GuitarAcademies.com
Fingerstyle guitar allows you to play bass notes, chords, rhythm, and melody at the same time. Instead of using a pick, you pluck the strings with your thumb and fingers to create a rich, layered sound.
This style may look complicated when performed by an experienced guitarist, but beginners can start with very simple patterns. A few basic right-hand movements can turn ordinary open chords into gentle acoustic arrangements, folk patterns, classical-style exercises, and expressive solo guitar pieces.
In this complete guide, you will learn fingerstyle hand position, finger assignments, easy picking patterns, beginner exercises, useful chords, practice methods, and common mistakes to avoid.
What Is Fingerstyle Guitar?
Fingerstyle guitar is a method of playing in which the strings are plucked directly with the thumb and fingers of the picking hand.
The technique is used in many styles, including:
- Folk music
- Classical guitar
- Country music
- Blues
- Acoustic pop
- Flamenco
- Jazz
- Worship music
- Solo instrumental guitar
Fingerstyle playing can be very simple or highly advanced. Beginners may start by alternating the thumb with one finger, while advanced players may perform bass lines, chords, harmonics, percussion, and melody at the same time.
Fingerstyle Guitar vs. Fingerpicking
The terms fingerstyle and fingerpicking are often used interchangeably. Both describe playing the strings with the fingers instead of a flat pick.
In some contexts, fingerpicking refers more specifically to repeated picking patterns, while fingerstyle may describe a broader approach that combines melody, harmony, bass, and rhythm.
For beginners, the distinction is not especially important. The same foundational hand positions and exercises apply to both.
Can Beginners Learn Fingerstyle Guitar?
Yes. Beginners can learn fingerstyle guitar from the start. You do not need to master strumming or lead guitar first.
Fingerstyle requires coordination, but the movements can be divided into small steps:
- Learn the correct hand position.
- Assign fingers to specific strings.
- Practice the thumb separately.
- Add one finger at a time.
- Use easy open chords.
- Practice slow, repeating patterns.
Right-Hand Finger Names for Fingerstyle Guitar
Classical and fingerstyle guitar methods often use Spanish abbreviations for the picking-hand fingers.
| Symbol | Finger | Common String Assignment |
|---|---|---|
| p | Thumb | Low E, A, and D strings |
| i | Index finger | G string |
| m | Middle finger | B string |
| a | Ring finger | High E string |
| c | Little finger | Used less often in standard fingerstyle |
A simple beginner assignment is:
- Thumb for strings 6, 5, and 4
- Index finger for string 3
- Middle finger for string 2
- Ring finger for string 1
This arrangement keeps the fingers organized and reduces unnecessary movement.
Correct Fingerstyle Hand Position
Good hand position makes fingerstyle playing more comfortable and efficient.
Picking-Hand Position
- Relax the wrist.
- Keep the hand naturally curved.
- Position the thumb slightly in front of the fingers.
- Allow the fingers to hover near their assigned strings.
- Avoid planting the little finger unless the technique specifically requires it.
- Pluck through the string rather than pulling sharply away from the guitar.
Fretting-Hand Position
- Keep the thumb behind the neck.
- Curve the fingers.
- Place fingertips close behind the frets.
- Use only enough pressure for clean notes.
- Keep the wrist relaxed.
Should You Use Fingernails or Fingertips?
Fingerstyle guitar can be played with fingernails, fingertips, or a combination of both.
Using Fingertips
Fingertips usually produce a warm, soft tone. They are convenient because no nail maintenance is required.
Using Fingernails
Fingernails can create a brighter, clearer sound with stronger volume and definition.
Using Fingerpicks
Some country and blues players use metal or plastic fingerpicks. These create a bright, powerful tone but may feel unfamiliar at first.
Beginners can start with bare fingertips. Technique and timing are more important than nail length.
First Fingerstyle Exercise: Play Each Finger Separately
Begin with open strings and no fretting-hand chord.
Use:
- Thumb on the D string
- Index finger on the G string
- Middle finger on the B string
- Ring finger on the high E string
Repeat slowly. Keep the volume of each string as even as possible.
Second Exercise: Reverse the Pattern
Begin with the ring finger on the high E string and move backward toward the thumb.
Practice the forward and reverse patterns until they feel smooth.
Easy Fingerpicking Pattern 1: P-I-M-A
One of the easiest beginner patterns follows the order thumb, index, middle, ring.
Finger order: P – I – M – A
This example can be played over a C major chord. Repeat the four notes evenly.
Easy Fingerpicking Pattern 2: P-I-M-I
This four-note pattern returns to the index finger.
Finger order:
Thumb, index, middle, index.
This pattern works well for slow folk, pop, and acoustic arrangements.
Easy Fingerpicking Pattern 3: P-M-I-A
Finger order:
Thumb, middle, index, ring.
Changing the order of the fingers creates a different musical texture even when the chord remains the same.
Easy Fingerpicking Pattern 4: Outside-Inside Pattern
This pattern begins with the bass note, moves to the highest string, and then works inward.
Finger order:
Thumb, ring, index, middle.
Easy Fingerpicking Pattern 5: Eight-Note Arpeggio
Once four-note patterns feel comfortable, try an eight-note pattern.
A suggested finger order is:
P – I – M – A – M – I – M – A
Practice slowly with a metronome. Each note should occupy an equal amount of time.
Best Beginner Chords for Fingerstyle Guitar
Open chords are ideal for beginning fingerstyle because they allow several strings to ring freely.
C Major
Use the fifth string as the main bass note. C major works well with simple arpeggios.
G Major
Use the sixth string as the bass note. Allow the open strings to create a full sound.
A Minor
Use the fifth string as the bass note. A minor produces a warm, emotional sound.
E Minor
Use the sixth string as the bass note. This is one of the easiest fingerstyle chords.
D Major
Use the fourth string as the bass note and avoid the low E string.
A Major
Use the fifth string as the bass note. Keep the three fretted notes clear.
How to Choose the Correct Bass String
The thumb usually begins a fingerstyle pattern by playing the chord’s root note.
| Chord | Common Starting Bass String | Root Note |
|---|---|---|
| C major | Fifth string | C |
| A minor | Fifth string | A |
| G major | Sixth string | G |
| E minor | Sixth string | E |
| E major | Sixth string | E |
| D major | Fourth string | D |
| A major | Fifth string | A |
Starting on the correct bass string helps make the chord sound grounded and complete.
Beginner Fingerstyle Chord Progression
Try this simple progression:
C – G – Am – Fmaj7
Use the same four-note pattern on every chord.
Play each chord slowly. Focus on keeping the picking pattern steady while the fretting hand changes shapes.
How to Practice Chord Changes While Fingerpicking
Changing chords without interrupting the picking pattern is one of the first major fingerstyle challenges.
Step 1: Practice the Chords Alone
Strum each chord and make sure every note sounds clear.
Step 2: Practice the Pattern on One Chord
Repeat one fingerpicking pattern until the picking hand can perform it with little thought.
Step 3: Alternate Between Two Chords
Start with easy combinations such as:
- C to A minor
- G to E minor
- A minor to E minor
- D to G
- C to G
Step 4: Slow the Tempo
Change chords at a speed that allows the rhythm to continue without pausing.
Alternating Bass for Beginners
Alternating bass means the thumb moves between two or more bass strings while the fingers play higher notes.
Here is a simple alternating-bass pattern over C major:
The thumb alternates between the fifth and fourth strings.
Practice the thumb movement alone before adding the upper-string notes.
What Is Travis Picking?
Travis picking is a fingerpicking style built around a steady alternating bass played by the thumb. The fingers add melody and chord notes above the bass.
It is common in country, folk, blues, and acoustic guitar music.
Basic Travis Picking Approach
- The thumb alternates between two bass strings.
- The fingers play higher strings between the thumb notes.
- The rhythm remains steady and repetitive.
Easy Travis Picking Exercise
Try this simplified pattern over C major:
The thumb alternates between the A and D strings while the fingers play the B and high E strings.
Begin very slowly and count:
One and two and three and four and.
How to Make Fingerstyle Notes Sound Clear
- Pluck with controlled, relaxed motion.
- Keep each finger close to its assigned string.
- Allow notes to ring when appropriate.
- Avoid touching neighboring strings accidentally.
- Use even volume across all fingers.
- Practice slowly enough to hear every note.
- Tune the guitar before practicing.
If one finger sounds much quieter than the others, practice that finger separately.
How to Develop Thumb Independence
Thumb independence is the ability to maintain a steady bass pattern while the fingers play a different rhythm.
Exercise 1: Thumb Only
Alternate between two bass strings for one minute without using the fingers.
Exercise 2: Add One Finger
Add the index finger on the G string.
Exercise 3: Add More Fingers
Add the middle and ring fingers only after the thumb-and-index pattern feels stable.
Fingerstyle Rhythm and Counting
Even notes are essential in fingerstyle guitar. A beautiful pattern can sound unsteady if some notes are rushed or delayed.
Count Four-Note Patterns
Count:
One, two, three, four.
Count Eight-Note Patterns
Count:
One and two and three and four and.
Use a Metronome
Start at 50 or 60 beats per minute. Play one note per click, then two notes per click when the pattern feels comfortable.
Should Fingerstyle Guitarists Anchor the Little Finger?
Some guitarists rest the little finger on the guitar body for stability. Others keep the hand completely free.
Anchoring may provide temporary control, but it can also limit hand movement or create tension.
Beginners should experiment carefully. Keep the hand relaxed and avoid pressing the little finger firmly into the guitar.
Classical guitar technique generally avoids anchoring, while some folk, blues, and country players use it successfully.
Should the Thumb Stay in Front of the Fingers?
The thumb should usually sit slightly closer to the guitar neck than the fingers. This helps prevent the thumb and index finger from colliding.
From the player’s perspective, the thumb moves outward toward the bass strings while the fingers move inward toward the palm.
Keep the thumb relaxed and avoid locking it straight.
Fingerstyle Guitar on Acoustic vs. Electric Guitar
| Feature | Acoustic Guitar | Electric Guitar |
|---|---|---|
| Sound | Natural, warm, resonant | Can be clean, amplified, or processed |
| String feel | Often higher tension | Often lighter and easier to press |
| Volume | Strong natural projection | Requires amplification for full volume |
| Common styles | Folk, classical, country, acoustic pop | Blues, jazz, rock, ambient music |
| Technique | Same basic finger assignments | Same basic finger assignments |
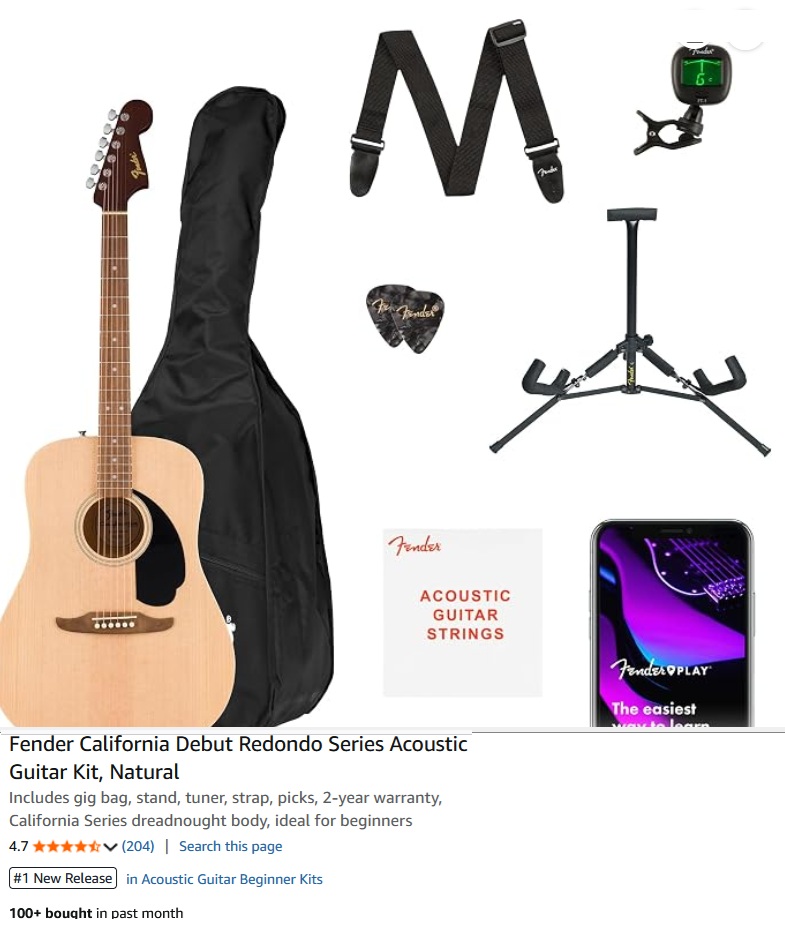
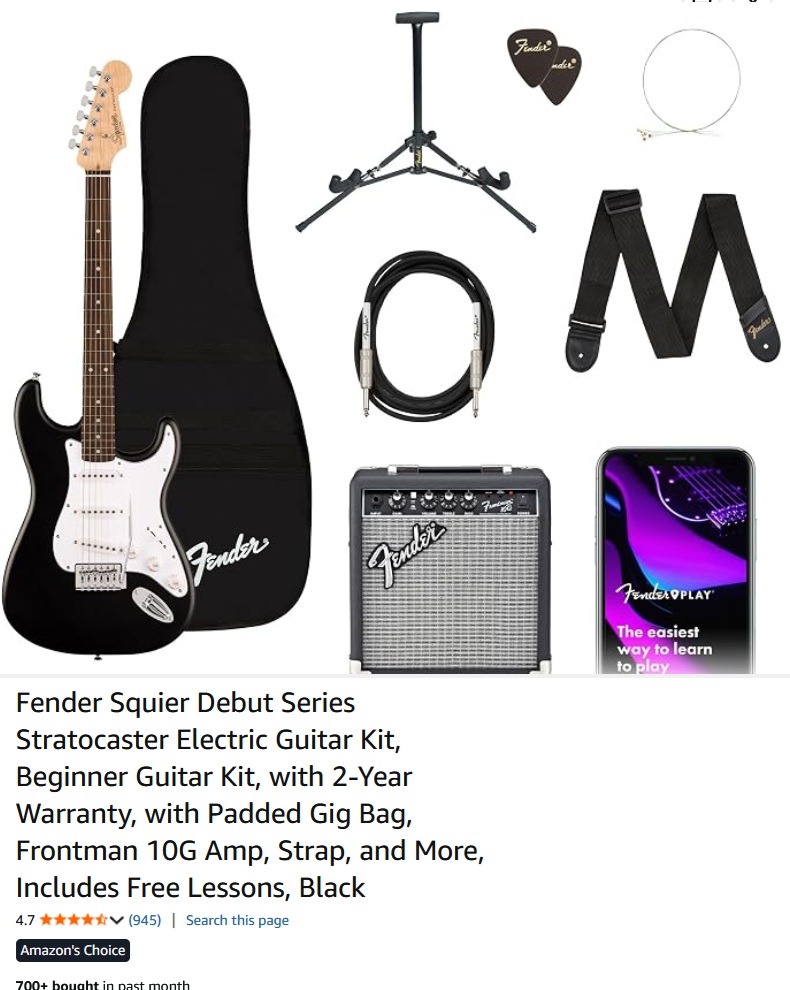
Fingerstyle can be learned on either instrument. Choose the guitar that matches the music you want to play.
Common Beginner Fingerstyle Mistakes
Playing Too Fast
Speed hides uneven timing and inaccurate string choices. Slow down until every note is controlled.
Watching the Picking Hand Constantly
Looking at the hand is useful at first, but gradually learn to feel the string positions.
Using Random Fingers
Assigning consistent fingers to the upper strings makes patterns easier to repeat.
Allowing the Thumb to Collide With the Fingers
Position the thumb slightly in front of the fingers.
Plucking Too Hard
Excessive force creates harsh tone and hand tension. Use a relaxed movement.
Ignoring the Bass Note
Start each chord with an appropriate root or bass string.
Changing Patterns Too Often
Practice one pattern long enough for it to become comfortable before learning several more.
Trying Advanced Arrangements Too Soon
Begin with repeating patterns over open chords before adding melody and percussion.
How to Practice Fingerstyle Guitar Effectively
Practice the Picking Hand Alone
Use open strings so you can focus entirely on finger order and rhythm.
Practice the Fretting Hand Alone
Form the chord shapes and switch between them without fingerpicking.
Combine the Hands Slowly
Use one chord and one simple pattern before adding chord changes.
Use a Metronome
Begin at a tempo where every note is even and clear.
Repeat Small Sections
Practice one measure or one chord transition instead of restarting an entire song.
Record Yourself
Listen for uneven volume, missing bass notes, pauses, and rushed transitions.
A 20-Minute Beginner Fingerstyle Practice Routine
| Time | Exercise | Main Goal |
|---|---|---|
| 2 minutes | Tune the guitar | Develop accurate listening habits |
| 3 minutes | Open-string finger exercise | Improve finger accuracy |
| 4 minutes | Thumb-only bass practice | Build thumb independence |
| 4 minutes | One repeating picking pattern | Develop steady rhythm |
| 4 minutes | Two-chord progression | Improve chord changes |
| 3 minutes | Easy fingerstyle song section | Apply technique musically |
A Seven-Day Fingerstyle Guitar Practice Plan
| Day | Practice Focus | Goal |
|---|---|---|
| Day 1 | Finger assignments | Use thumb, index, middle, and ring correctly |
| Day 2 | Open-string patterns | Play four-note patterns evenly |
| Day 3 | One-chord arpeggios | Keep all notes clear |
| Day 4 | Two-chord changes | Maintain the pattern during transitions |
| Day 5 | Alternating bass | Keep the thumb steady |
| Day 6 | Eight-note pattern | Play with a metronome |
| Day 7 | Short song arrangement | Play without stopping |
How Long Does It Take to Learn Fingerstyle Guitar?
A beginner may learn a simple four-note picking pattern in one practice session. Playing the pattern smoothly through several chord changes may take several days or weeks.
Developing independent bass and melody control can take months of consistent practice. Advanced fingerstyle arrangements may require years of experience.
Progress depends on:
- Practice frequency
- Pattern difficulty
- Chord-changing ability
- Rhythm skills
- Hand relaxation
- Previous musical experience
Short daily practice sessions are usually more productive than one long session each week.
Easy Fingerstyle Skills to Learn Next
After mastering basic patterns, gradually explore:
- Alternating bass
- Travis picking
- Pinching two strings together
- Hammer-ons
- Pull-offs
- Slides
- Chord embellishments
- Melody notes within chords
- Natural harmonics
- Slap and percussion techniques
Add only one new skill at a time so your rhythm remains steady.
Beginner Fingerstyle Technique Checklist
- The guitar is tuned before practice.
- The picking hand is relaxed and naturally curved.
- The thumb sits slightly in front of the fingers.
- The thumb plays the bass strings.
- The index finger usually plays the G string.
- The middle finger usually plays the B string.
- The ring finger usually plays the high E string.
- Each note sounds clear and even.
- The pattern is practiced slowly.
- The correct bass string is used for each chord.
- Chord changes do not interrupt the beat.
- A metronome is used regularly.
- The hands remain relaxed.
Frequently Asked Questions About Fingerstyle Guitar
Is fingerstyle guitar hard for beginners?
Fingerstyle can feel unfamiliar at first, but beginners can start with simple open-string exercises and four-note patterns. The difficulty increases gradually as bass, chords, and melody are combined.
Which fingers should I use for fingerstyle guitar?
The thumb usually plays the low E, A, and D strings. The index finger usually plays the G string, the middle finger plays the B string, and the ring finger plays the high E string.
Do I need long fingernails to play fingerstyle guitar?
No. Fingerstyle can be played with fingertips, fingernails, fingerpicks, or a combination of nail and fingertip.
Should I learn strumming before fingerstyle?
You do not need to master strumming first. Beginners can learn basic chords, strumming, and fingerstyle techniques at the same time.
What is the easiest fingerpicking pattern?
A simple thumb-index-middle-ring pattern is one of the easiest places to begin. It can be repeated over open chords such as C, G, A minor, and E minor.
What guitar is best for fingerstyle beginners?
Acoustic, classical, and electric guitars can all be used. Classical guitars have wider necks and nylon strings, while steel-string acoustics offer a bright, familiar fingerstyle sound.
How often should I practice fingerstyle guitar?
Ten to twenty minutes of focused fingerstyle practice most days can produce steady progress. Consistency is more important than long, occasional sessions.
Why does my thumb keep losing the beat?
The thumb may not yet have enough independence. Practice the bass pattern alone until it feels steady, then add one finger at a time.
Should fingerstyle notes ring together?
In many arpeggios, the notes should continue ringing to create harmony. Some styles use muting for a shorter, more rhythmic sound.
Can I play fingerstyle on an electric guitar?
Yes. Fingerstyle works well on electric guitar and is used in blues, jazz, rock, pop, and ambient music.
Final Thoughts
Fingerstyle guitar gives beginners a beautiful way to combine rhythm, harmony, bass, and melody. Although advanced arrangements can look complex, the basic movements are simple enough to learn one step at a time.
Begin with a relaxed hand position and consistent finger assignments. Practice the thumb separately, then add the index, middle, and ring fingers. Use easy open chords and repeat one simple picking pattern until it becomes comfortable.
Focus on even timing, clear notes, correct bass strings, and smooth chord changes. Practice slowly with a metronome and resist the temptation to move to advanced patterns too quickly.
With regular practice, basic fingerpicking patterns can grow into expressive arrangements that sound complete even when you are playing alone.
Start Your Fingerstyle Guitar Journey
Explore beginner fingerpicking lessons, chord guides, guitar tabs, practice routines, and acoustic guitar tutorials at GuitarAcademies.com.
Visit GuitarAcademies.comGuitar Academies Related Articles
- 50 Essential Guitar Chords Every Player Should Master
- Acoustic vs. Electric Guitar: Which Is Best for Beginners?
- Common Beginner Guitar Mistakes and How to Avoid Them
- Fingerstyle Guitar for Beginners: Easy Techniques to Get Started
- From Beginner to Performer: Your First Year of Guitar Success
- Guitar Maintenance 101: Keep Your Instrument Playing Like New
- Guitar Scales Explained: The Foundation of Great Soloing
- How to Learn Guitar Fast: A Beginner’s Step-by-Step Guide to Playing Your First Songs
- How to Read Guitar Tabs: A Complete Beginner’s Guide
- The Ultimate Guitar Practice Routine: Improve in 30 Minutes a Day